A Simple Gluten-Free Okonomiyaki Recipe Made with Rice Flour
This is a gluten-free version of Okonomiyaki, a popular Japanese savory pancake.
*This recipe uses rice flour instead of wheat flour and is very easy to remember.
I like to keep things simple, so I follow a simple “2 rule” for the main ingredients: 200g rice flour, 200ml water, 2 eggs, 200g cabbage, and 200g pork.
Just remember the “2 rule,” and you can easily make this okonomiyaki anywhere, even while camping or traveling.
Feel free to adjust the amounts depending on your preference.
| Ingredients (*3 small pancakes) | Ingredient | Notes |
|---|---|---|
| Rice flour (all-purpose type) | 200g | *I often use Namisato or Mitake Foods rice flour |
| Water | 200ml | Use slightly less water if the cabbage was recently washed |
| Eggs | 2 | M size |
| Cabbage | About 200g | Cut into small cubes and drain thoroughly |
| Pork belly | About 200g | Cut into pieces, cook until crispy, and remove excess oil |
| Dried bonito flakes (kezuribushi) | Add a handful | More makes it more flavorful |
| Gluten-free okonomiyaki sauce | As needed | *I use Mori Jozo’s gluten-free okonomiyaki sauce |
| Aonori (dried green seaweed flakes) | As needed | Optional topping |
| Bonito flakes (katsuobushi) | As needed | Optional topping |
| Mayonnaise | As needed | Optional topping |
Recommended Gluten-Free Ingredients
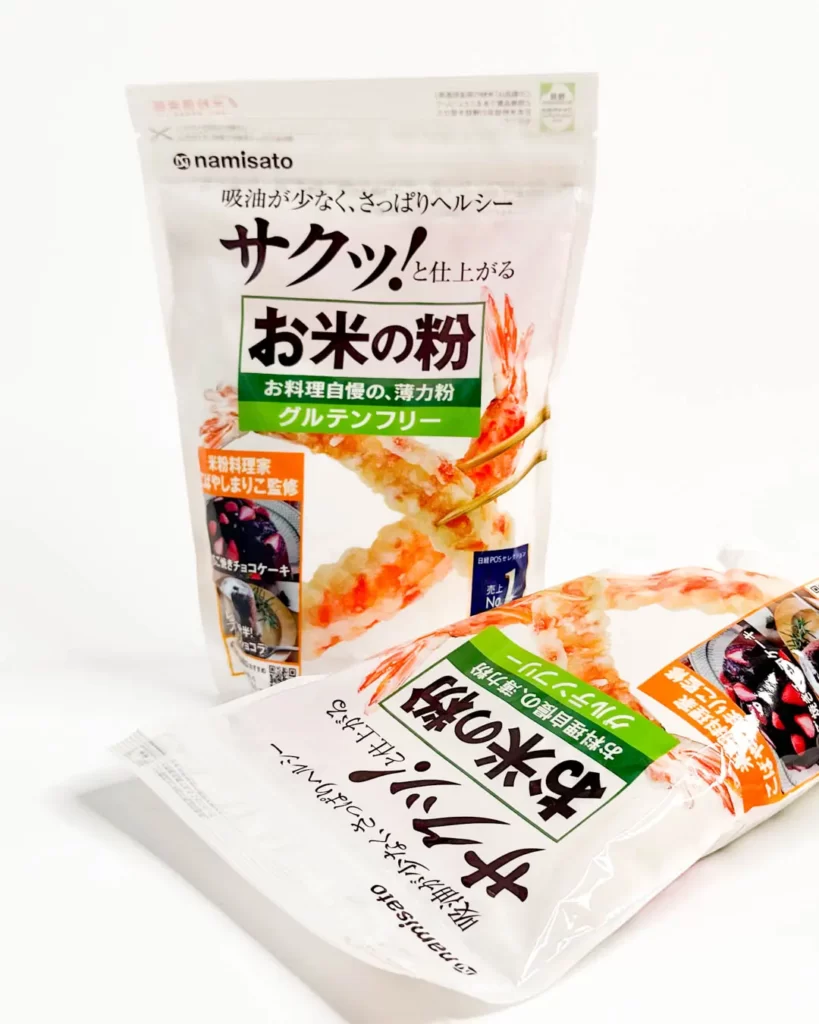
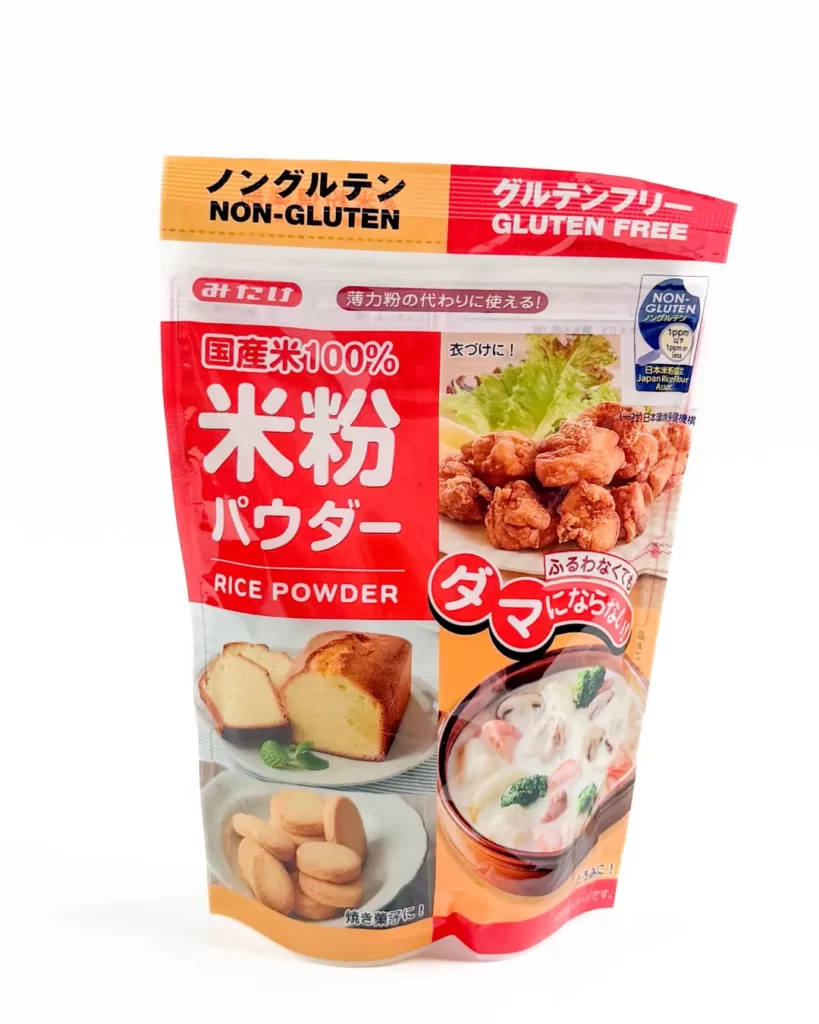
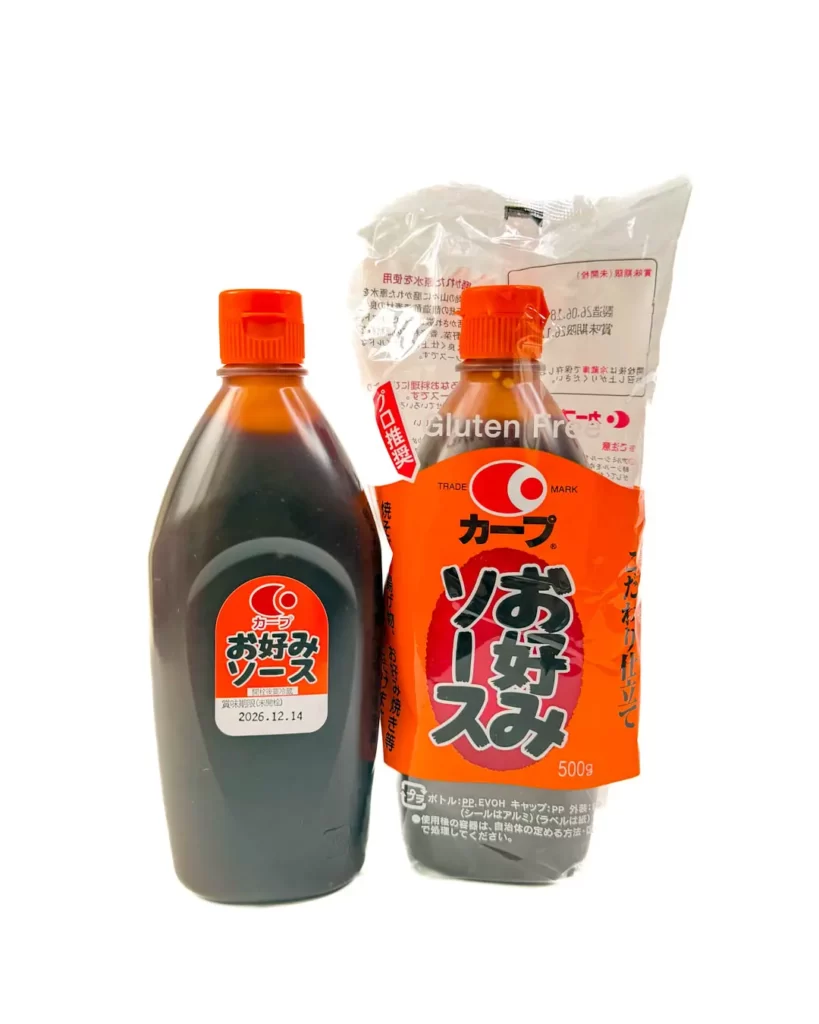
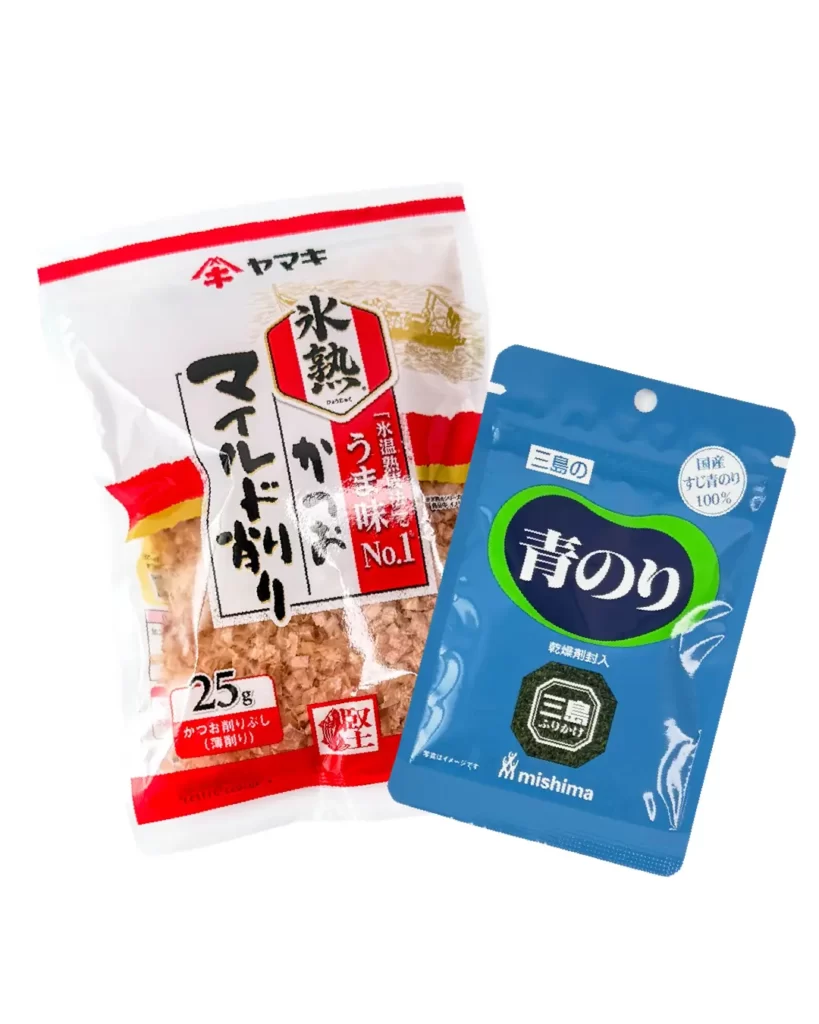
*Click each item for more details.
Instructions
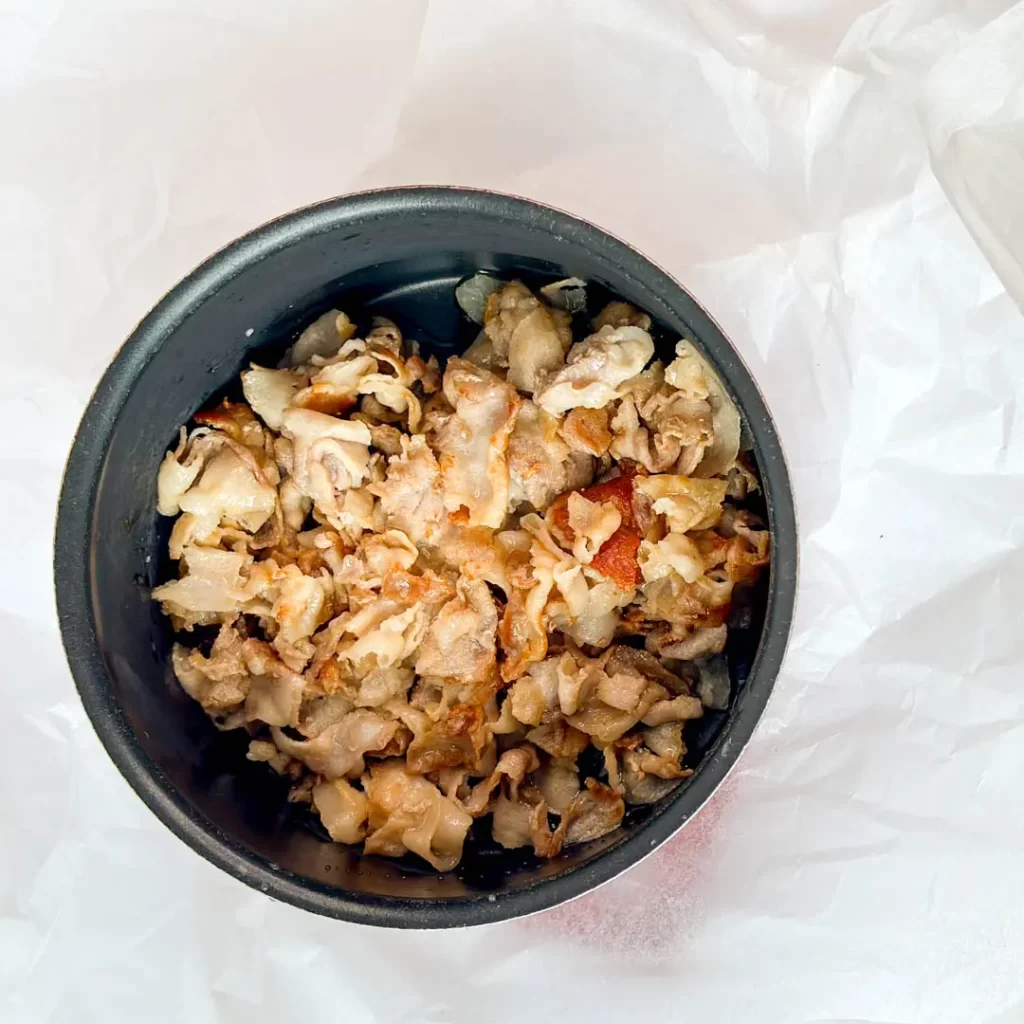
1. Cook the pork
Cook the pork belly in a frying pan until crispy.
Season with salt and pepper, then drain the excess oil and let it cool.
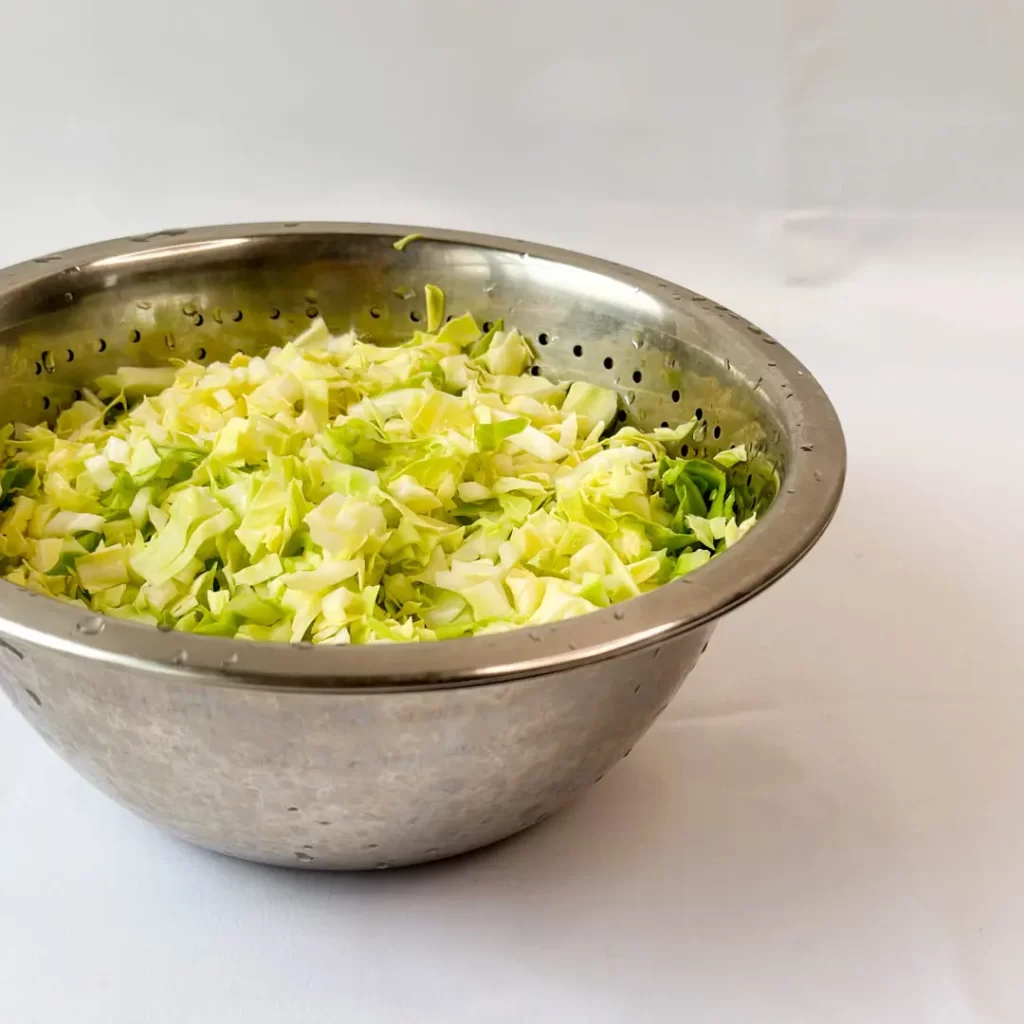
2. Prepare the cabbage
Cut the cabbage into small cubes and drain the water well.
*Removing excess water is important. Too much moisture will make the okonomiyaki too soft and difficult to flip.
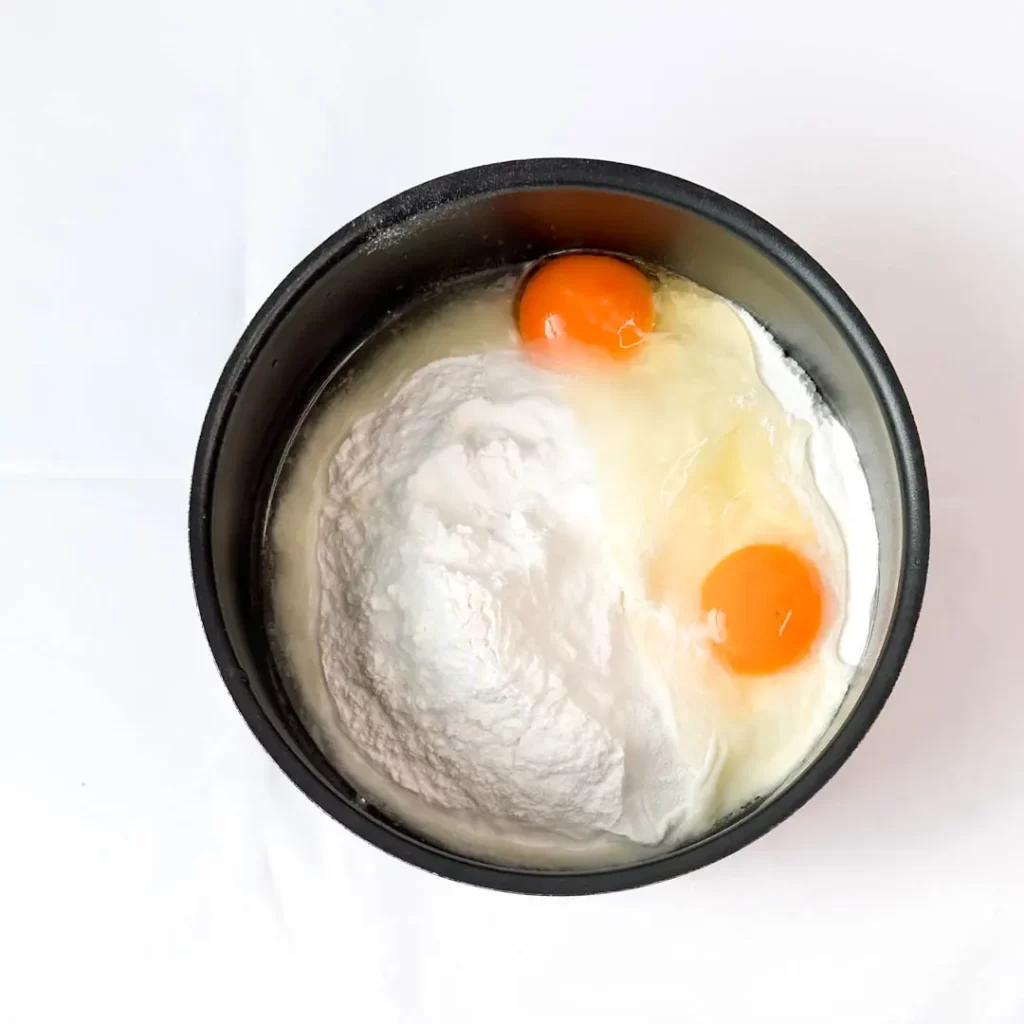
3. Make the batter
Add 200g rice flour and 2 eggs to a bowl.
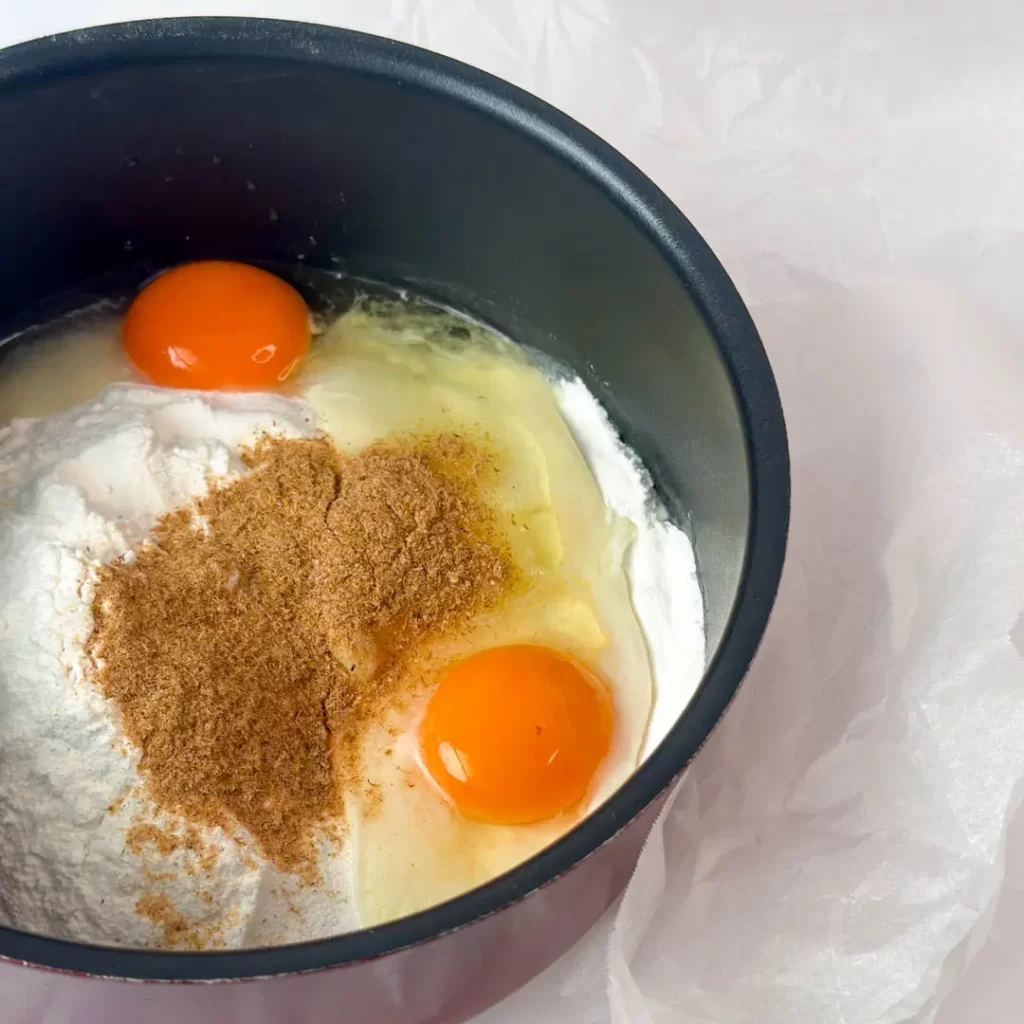
4. Add bonito flakes
Add a handful of dried bonito flakes.
*If you don’t have dried bonito flakes, you can use gluten-free powdered bonito stock instead.
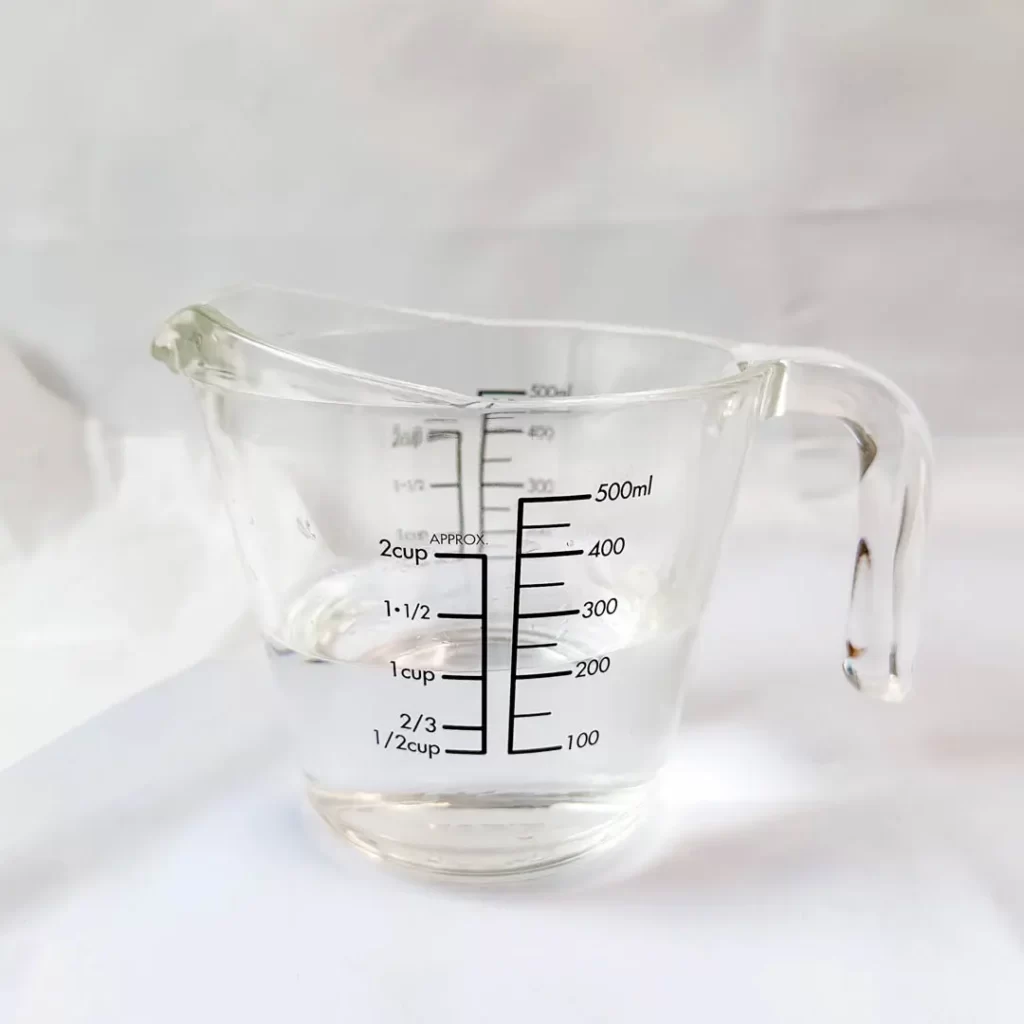
5. Add water
Pour 200ml water into the bowl and mix well.
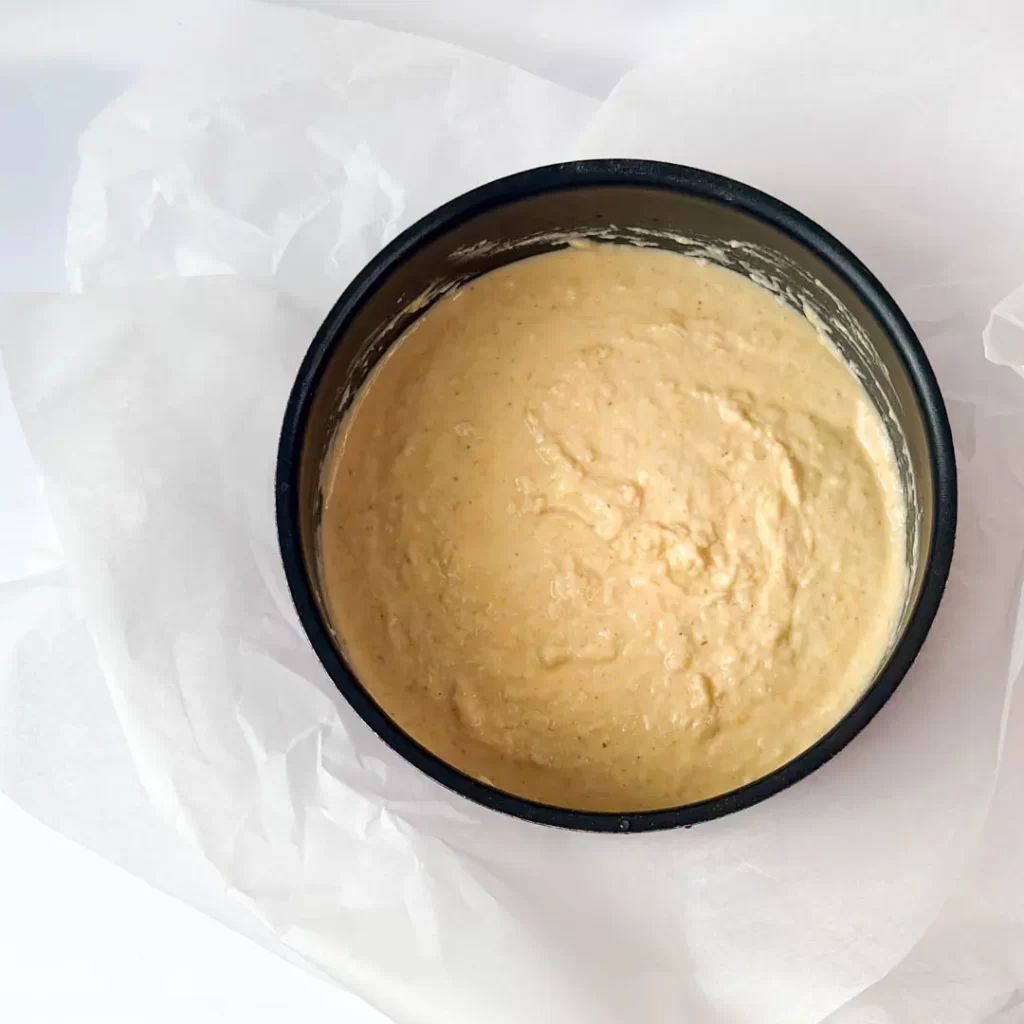
6. Mix the batter
Stir thoroughly with a spatula.
Unlike wheat flour, rice flour does not usually become lumpy.
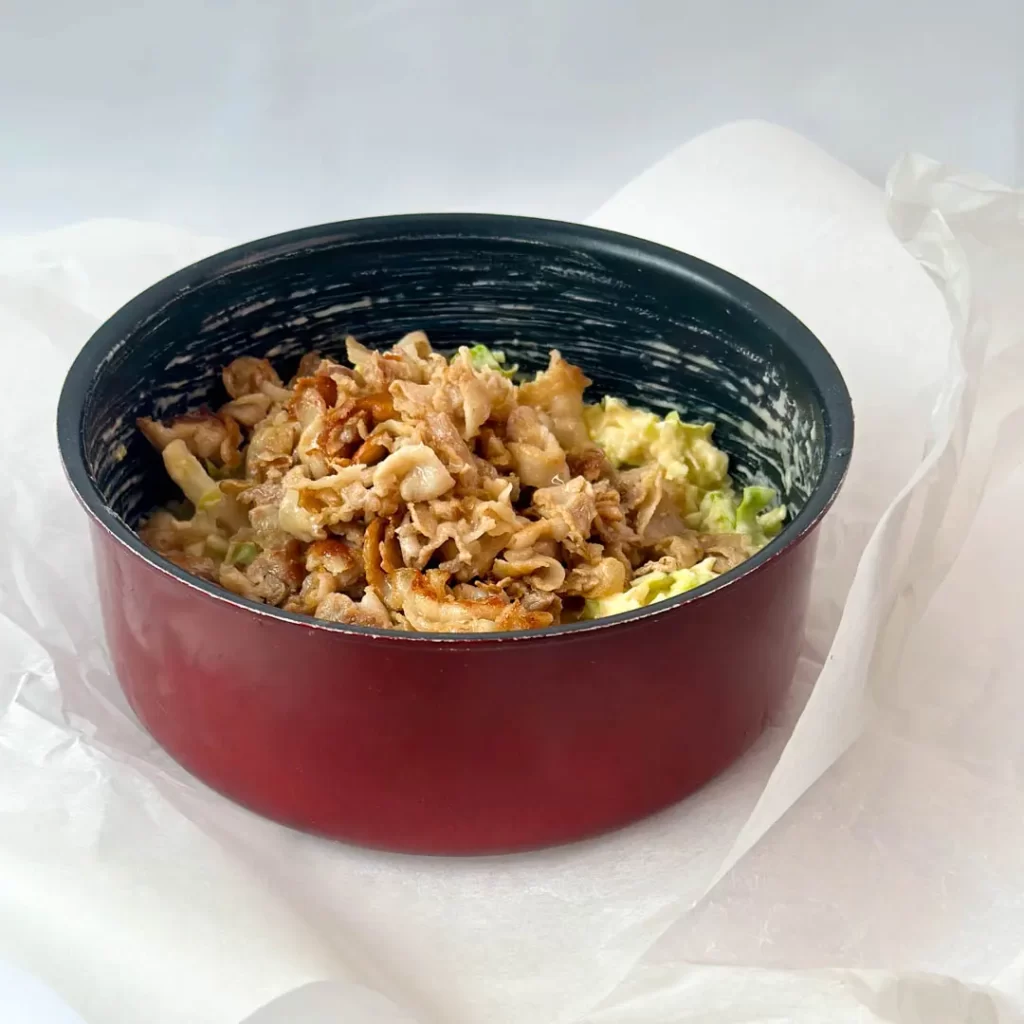
7. Add the ingredients
Add the cooked pork and chopped cabbage to the batter.
Mix everything together well.
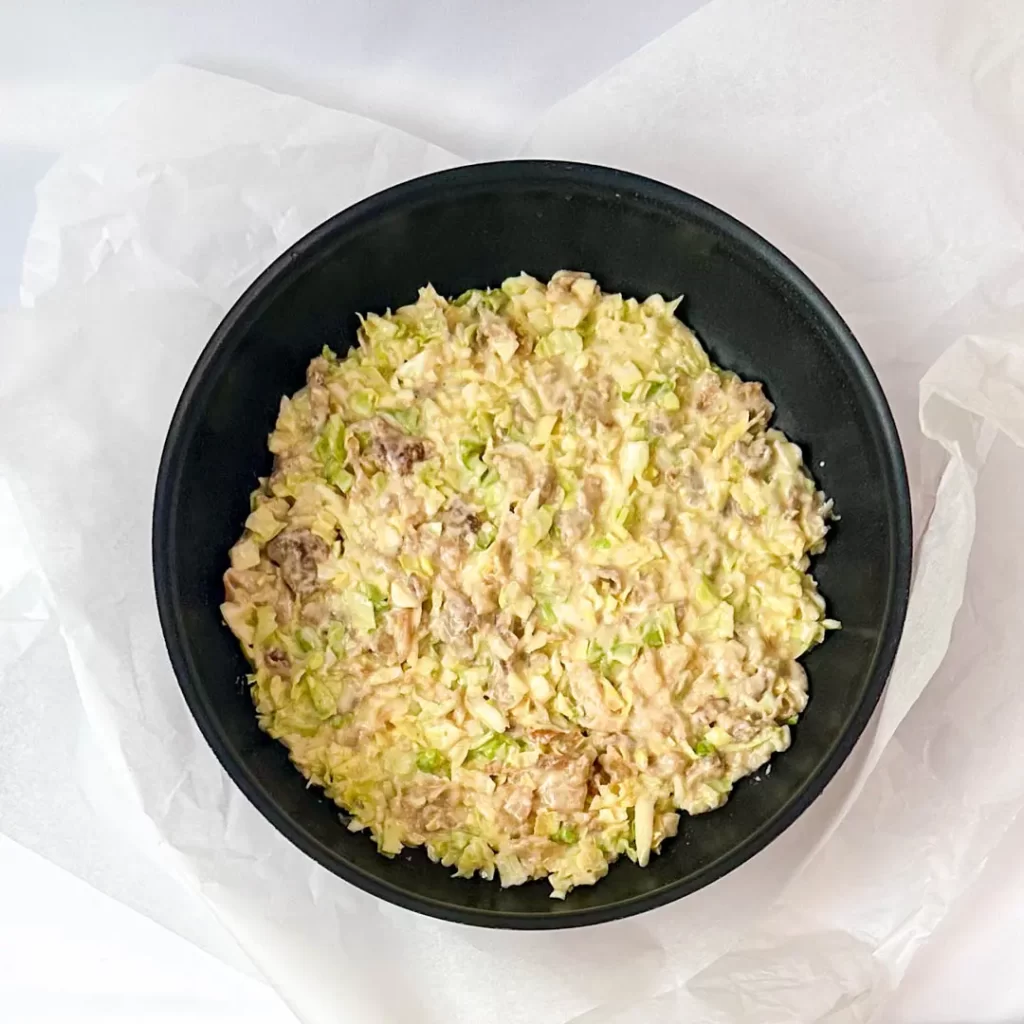
8. Cook the okonomiyaki
Once the batter and ingredients are combined, spread it into a thin circle on a heated frying pan.
I like a crispy texture, so I make mine fairly thin.
This recipe makes about three small okonomiyaki. Adjust the thickness and size as you like.
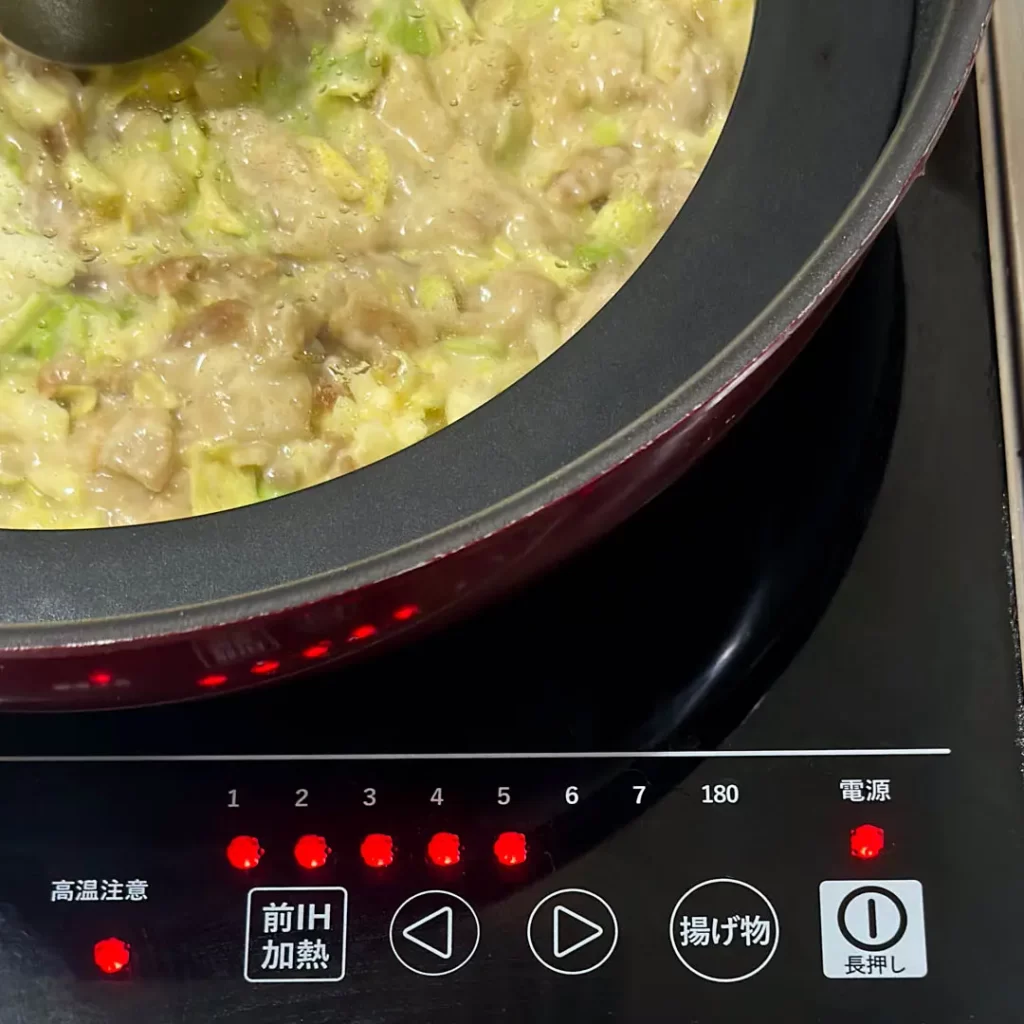
9. Cook the first side
Cover the pan with a lid and cook over medium to medium-high heat for about 5 minutes.
Cooking time may vary depending on your stove and pan, so adjust as needed.
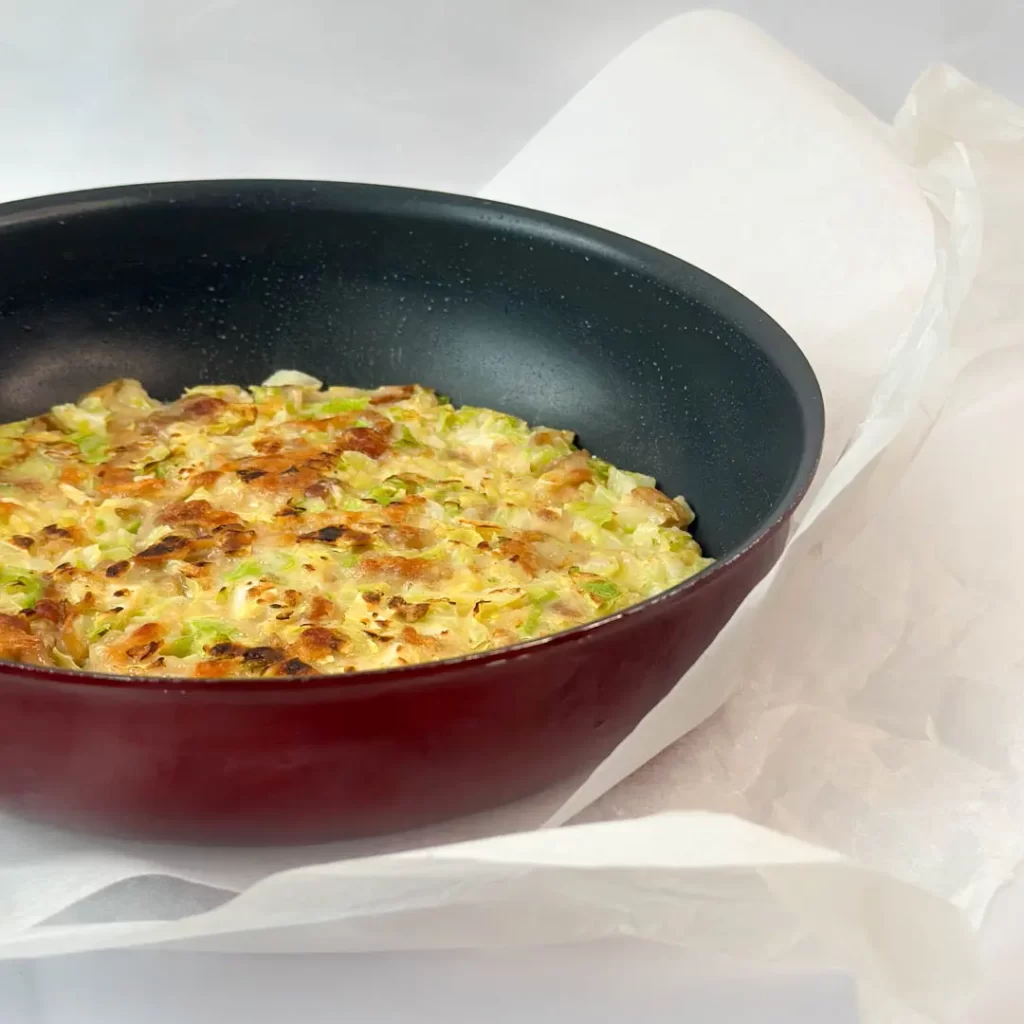
10. Flip and cook the other side
Flip the okonomiyaki and cook the other side for about 5 minutes.
If the batter seems too moist, cook the second side without the lid to help remove extra moisture.
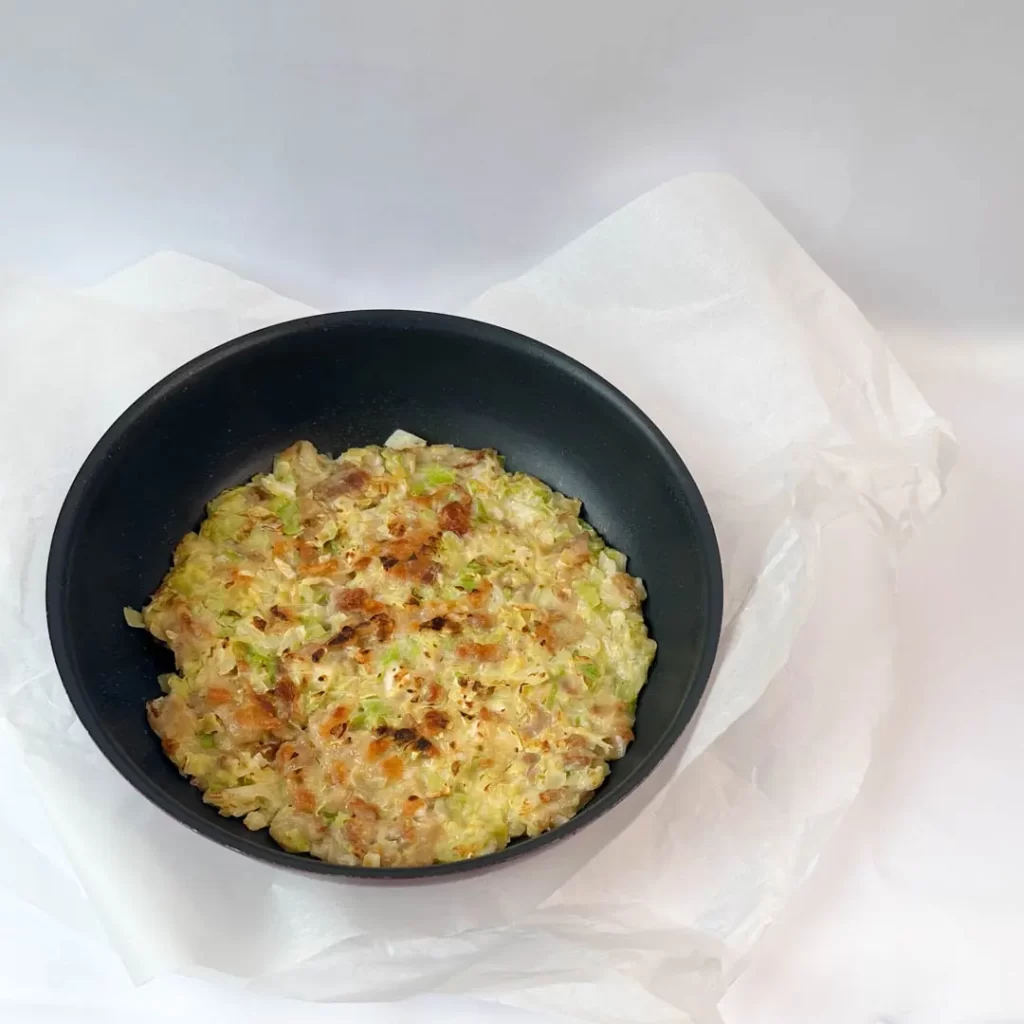
11. Add toppings
When both sides are cooked, transfer it to a plate.
Add toppings in this order:
1. Gluten-free okonomiyaki sauce
2. Mayonnaise (optional)
3. Aonori (dried green seaweed)
4. Bonito flakes
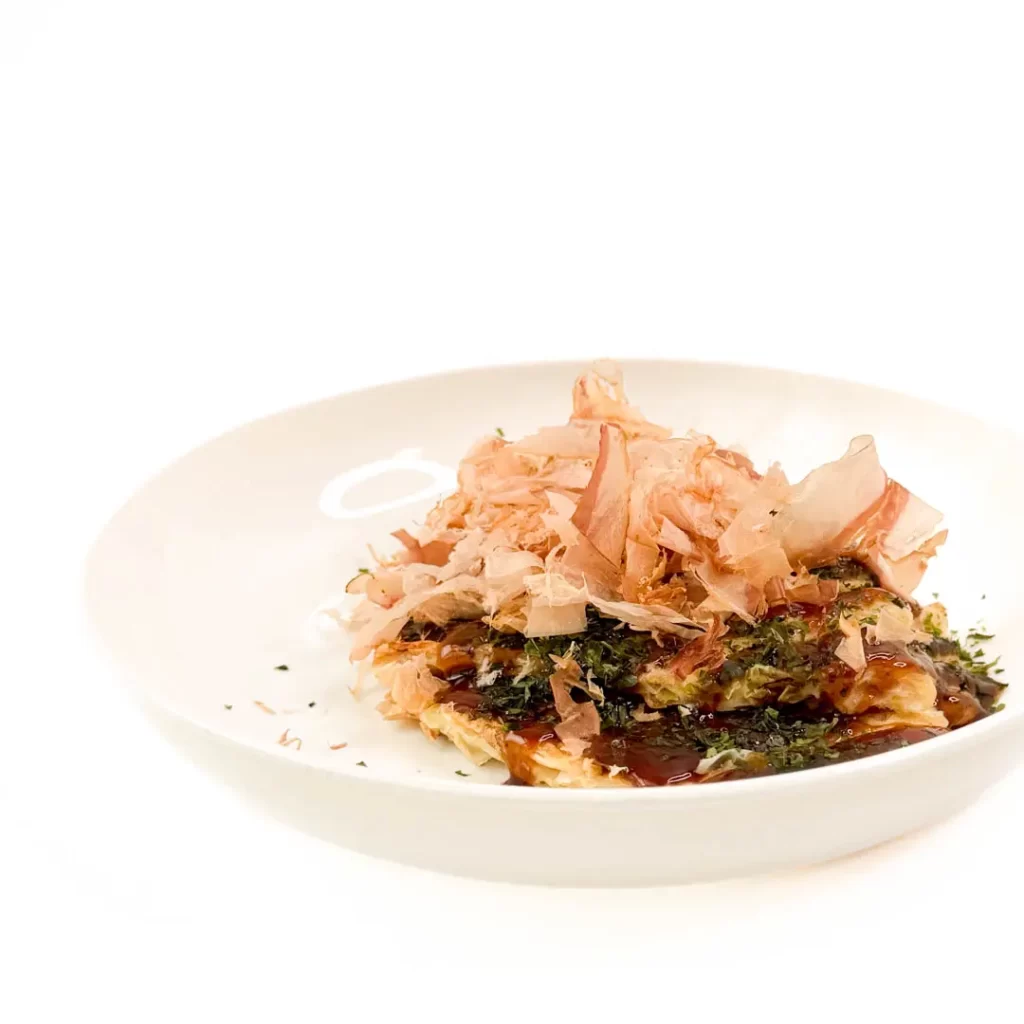
Enjoy your homemade gluten-free Okonomiyaki!
This recipe is simply made by chopping, mixing, and cooking, so it is perfect for a quick lunch on a busy day.
It is also a well-balanced meal with protein from eggs and pork, vegetables from cabbage, and calcium and minerals from bonito flakes and seaweed.
It is a simple, delicious, and easy Japanese meal you can make anywhere!